$55.00
SET
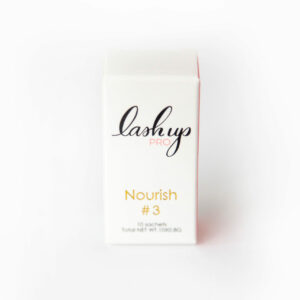
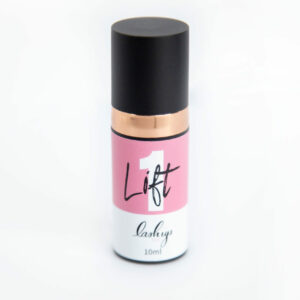
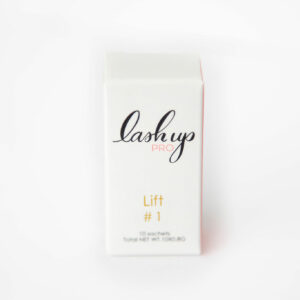
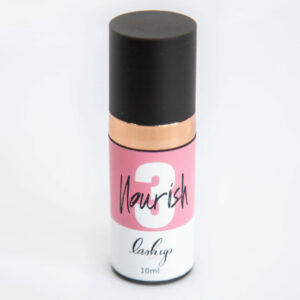
Perfectly laminate your clients brows with Lash Up Pro laminating solutions.
- 10ml PUMP BOTTLE
- EACH LOTION SOLD SEPARATELY
- STORE AT ROOM TEMPERATURE
- 2 PUMPS USED PER TREATMENT
Processing times will vary according to the strength and diameter of natural brows:
- Fine/ blonde brow hair 5 minutes
- Normal/ light brown/ brown hair 6-7 minutes
- Thick brow hair 8 minutes
In stock
Reviews (0)
Perfectly laminate your clients brows with Lash Up Pro laminating solutions.
+ 10ml PUMP BOTTLE
+ EACH LOTION SOLD SEPARATELY
+ STORE AT ROOM TEMPERATURE
+ 2 PUMPS USED PER TREATMENT
Processing times will vary according to the strength and diameter of natural brows:
- Fine/ blonde brow hair 5 minutes
- Normal/ light brown/ brown hair 6-7 minutes
- Thick brow hair 8 minutes
- Using an oil free cleanser, we prefer Lash + Lid by Lash Up Pro, cleanse the brow area. Remove any oil, makeup or other debris.
- Apply a barrier to the skin, this prevents any irritation to the skin, our favourite is vaseline. Apply barrier around the brow area and under the hairs itself, be considerate of how much barrier is being applied under the brow hair, a little will go a long way. Please note this step is optional, clients with sensitive skin, will benefit the most from this step.
- Brush the clients brows
- Using an applicator wands apply a generous amount of solution #1 to the brows. When applying the solution we want to pull the hair upwards and to the direction you desire, stretch the brows. Depending on the brows leave the solution on for 5-8 minutes (pump). Clients with fine/ blonde brows leave for 5 minutes, clients with normal/ light brown/brown brows leave for 6 to 7 minutes, and clients with thick/ darker brows, 8 minutes.
- Once solution is applied, place saran wrap on top of the brows. Gently message the solution into the brows. We DO NOT apply adhesive to the brows. Step #1 acts as a relaxant to the brow hair allowing it to be manipulated in the direction we choose. The saran wrap holds in the heat, breaks down the bonds, making the hairs easy to move into their new position.
- Once the duration has passed, remove the saran wrap and solution from the brows
- Using an applicator wands apply a generous amount of solution #2 to the brows. When applying the solution we want to pull the hair upwards and to the direction you desire, stretch the brows. Depending on the brows leave the solution on for 5-8 minutes (pump). Clients with fine/ blonde brows leave for 5 minutes, clients with normal/ light brown/brown brows leave for 6 to 7 minutes, and clients with thick/ darker brows, 8 minutes.
- Once the solution is applied, brush the brows to your desired shaping. This step is very important, how the brows are placed is how the will laminate.
- Once solution is applied, place saran wrap on top of the brows. Gently message the solution into the brows.
- Once the duration has passed, remove the saran wrap and solution from the brows.
- Step 3 acts as a conditioning treatment for the brows, apply it for 1-2 minutes with seran wrap and remove.
- Please note if a tint is preformed, step #3 would be done AFTER the tint.